What is Marmox?
Marmox is a lightweight, waterproof substrate made from extruded polystyrene covered on both sides by fibreglass mesh embedded in thin cement polymer mortar.
What does that mean? Basically – it’s a fabulous lightweight substrate suitable for both indoor and outdoor use.
It comes in varying thicknesses and can be bought in individual precut sheets, with or without hangers already installed, or in larger sheets, often 12oomm x 6oomm or similar.
TIP: Products that share the same properties are Thermaboard and Wediboard.
Preparation Required
Firstly, it’s necessary to install the hanging components if you haven’t bought your Marmox with them already in place. If your mosaic is for outdoors it’s a good idea to galvanise the hanging components to prevent them rusting. I use a product by White Knight called ‘Rust Guard – Cold Gal’, available at Bunnings and carefully paint the fittings with a small paint brush.
The Marmox board itself is waterproof so requires no pre-sealing, however you do need to seal the cut edges to preserve the integrity of the board.
To do this I apply a thin coating of Ceramacrete (or you can use thinset or a similar adhesive cement suitable for tiling), being careful to ensure all edges are completely covered. You don’t want any moisture getting in there! I also apply over the hanging components on the back, leaving the D-Ring clean, to give extra strength and to seal the join between the hanger and the Marmox.
Adhering Your Tiles
You can adhere your tiles using either the ‘Direct Method’ (adhering tiles directly onto your substrate) or the ‘Indirect Method’ (using mesh then adhering the mesh to your substrate).
For the Direct Method I use Prep Multihesive which is suitable for outdoors but is also a thicker glue than the Weldbond I use for indoor projects. I find it gives a good bond between the textured surface of the Marmox and my tiles.
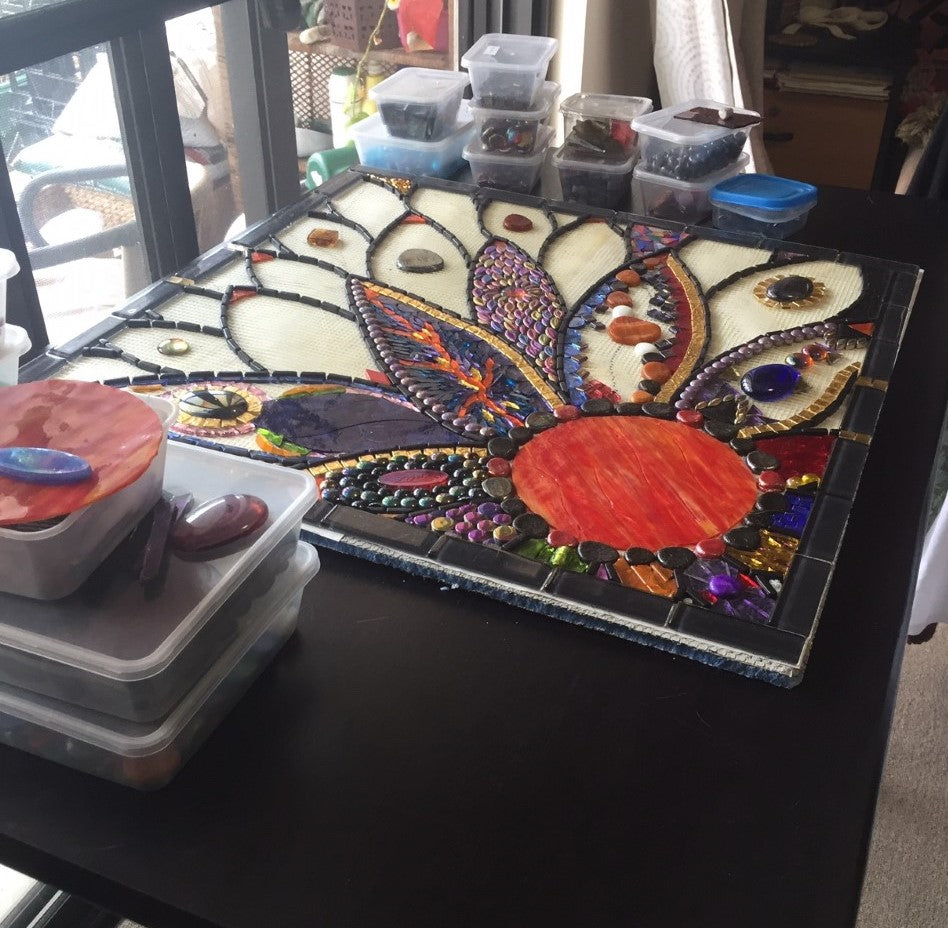
I’m using the Indirect Method on my current mosaic, using our No Days Heat Activated Mesh. This allows me to work on my mosaic then move it to wherever it’s going to be installed. This one however will be adhered to the Marmox before I take it my parent’s place to be installed.
To do this I’ll tint my Ceramacrete black (so I won’t have to grout) then apply an even layer over the entire surface of the Marmox. The mesh is then laid over the top, and gently pressed down to ensure the Ceramacrete fills the gaps between my tiles.
If you’re not using your Ceramacrete or thinset as grout in this way, do not use as much pressure when laying down the mesh, and grout over the top once your Ceramacrete has dried.
Benefits of Marmox
- Waterproof
- Lightweight
- Strong and durable
- Sheets can be cut down to your required size
- Can be cut into shapes
- Can be installed in position then your mosaic easily attached
© Meisha Mosaics
Download your printable PDF file here.
